Zoho CRM action nodes in Flow Builder enable seamless data synchronization and automation between Zoho CRM and SleekFlow. These nodes allow you to search, create, and update Zoho CRM records, ensuring that customer data stays up-to-date and relevant actions are triggered automatically.
Before setting up your “Zoho CRM” action nodes, ensure that you have already integrated your Zoho CRM connection with SleekFlow. You can follow the steps in this Help Center article to complete the connection.
Search Zoho CRM records
The “Search Zoho CRM records” action node allows you to search for and retrieve a specific Zoho CRM record based on defined criteria. It is essential for workflows that require existing customer data to determine the next action.
To update a specific Zoho CRM record accurately, you will need to provide the relevant record ID. The “Search Zoho CRM records” action allows you to retrieve the correct record by searching Zoho CRM based on defined criteria. Once the matching record is found, its ID can be used in the “Update Zoho CRM record” action node to ensure seamless and precise data updates between platforms.
To set up the node, follow the steps below:
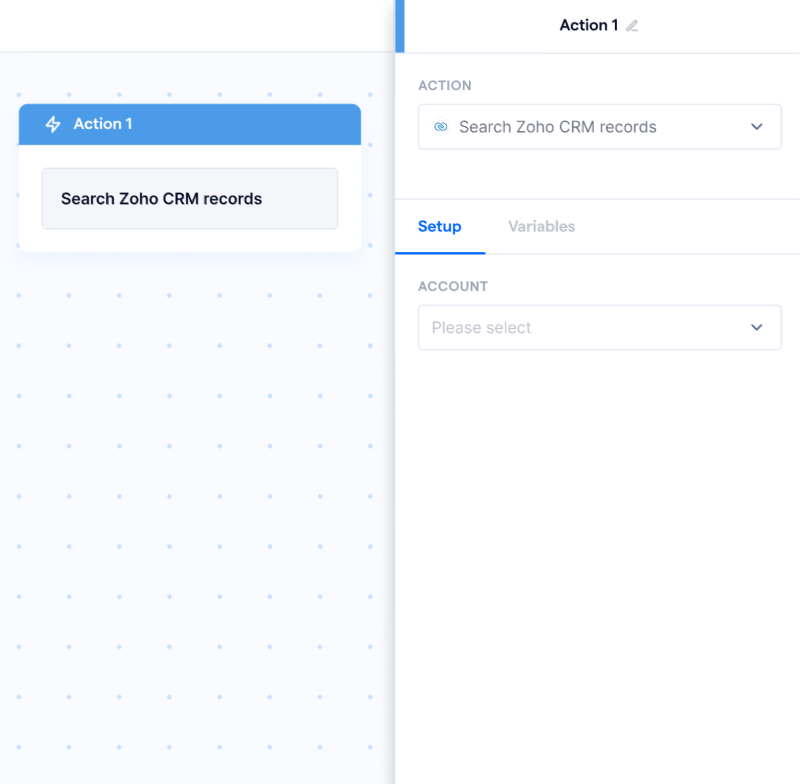
- Click on the “Search Zoho CRM records” action node to open up its form, which will appear on the right side of the screen
- Select the Zoho CRM account, the object type, and the object you want to use within this node. If you have not connected to a Zoho CRM account, you can refer to the Connect to your Zoho CRM account Help Center article
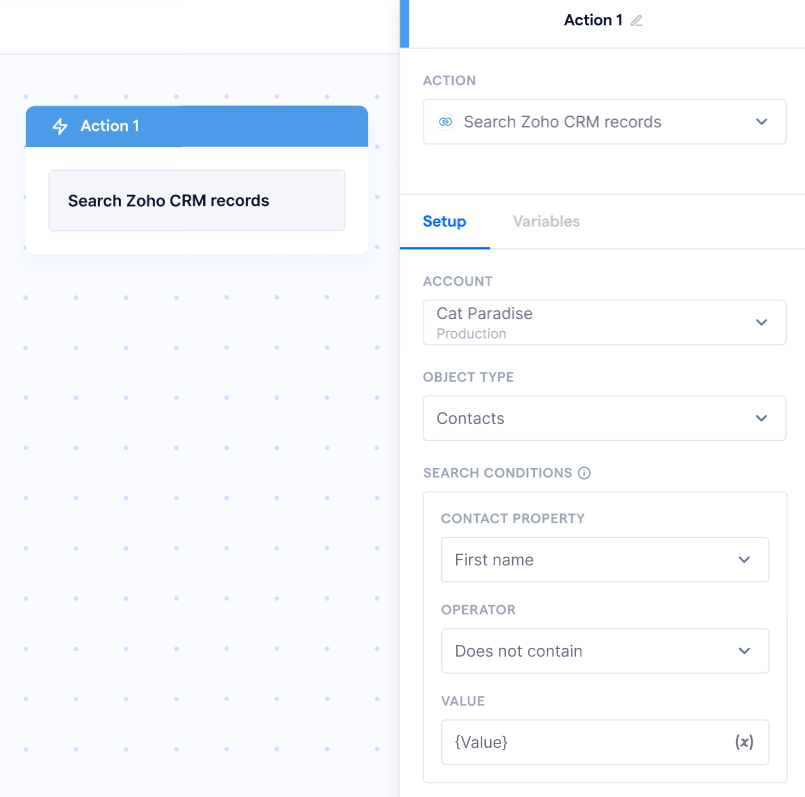
- The node form contains the following fields for you to configure your action:
-
Search conditions: This is an optional step for you to define the search condition. The first match record found will be used for you to set up the flow variable
-
Search conditions: This is an optional step for you to define the search condition. The first match record found will be used for you to set up the flow variable
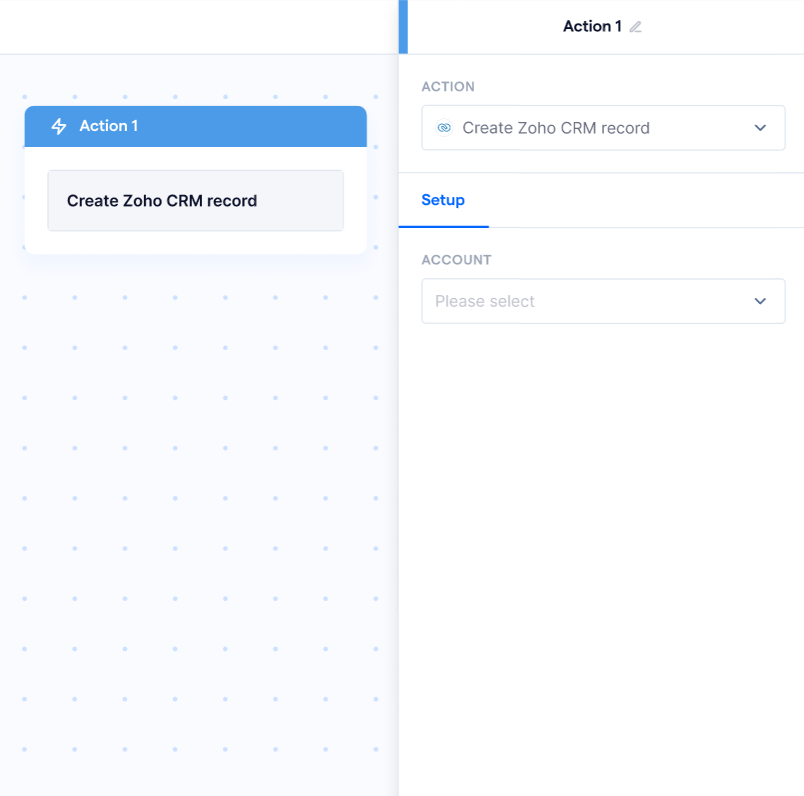
Create Zoho CRM record
The “Create Zoho CRM record” action node creates a new record in Zoho CRM when triggered. You can use it to add new Zoho CRM contacts, custom objects on Zoho CRM directly from SleekFlow.
Common use cases include:
- Lead generation: When a new customer interacts with your business in SleekFlow, create a Zoho CRM contact for future follow-ups.
- Sales pipeline automation: When a customer expresses interest in a product, automatically create a new deal in Zoho CRM.
To set up the node, follow the steps below:
- Click on the “Create Zoho CRM record” action node to open up its form, which will appear on the right side of the screen
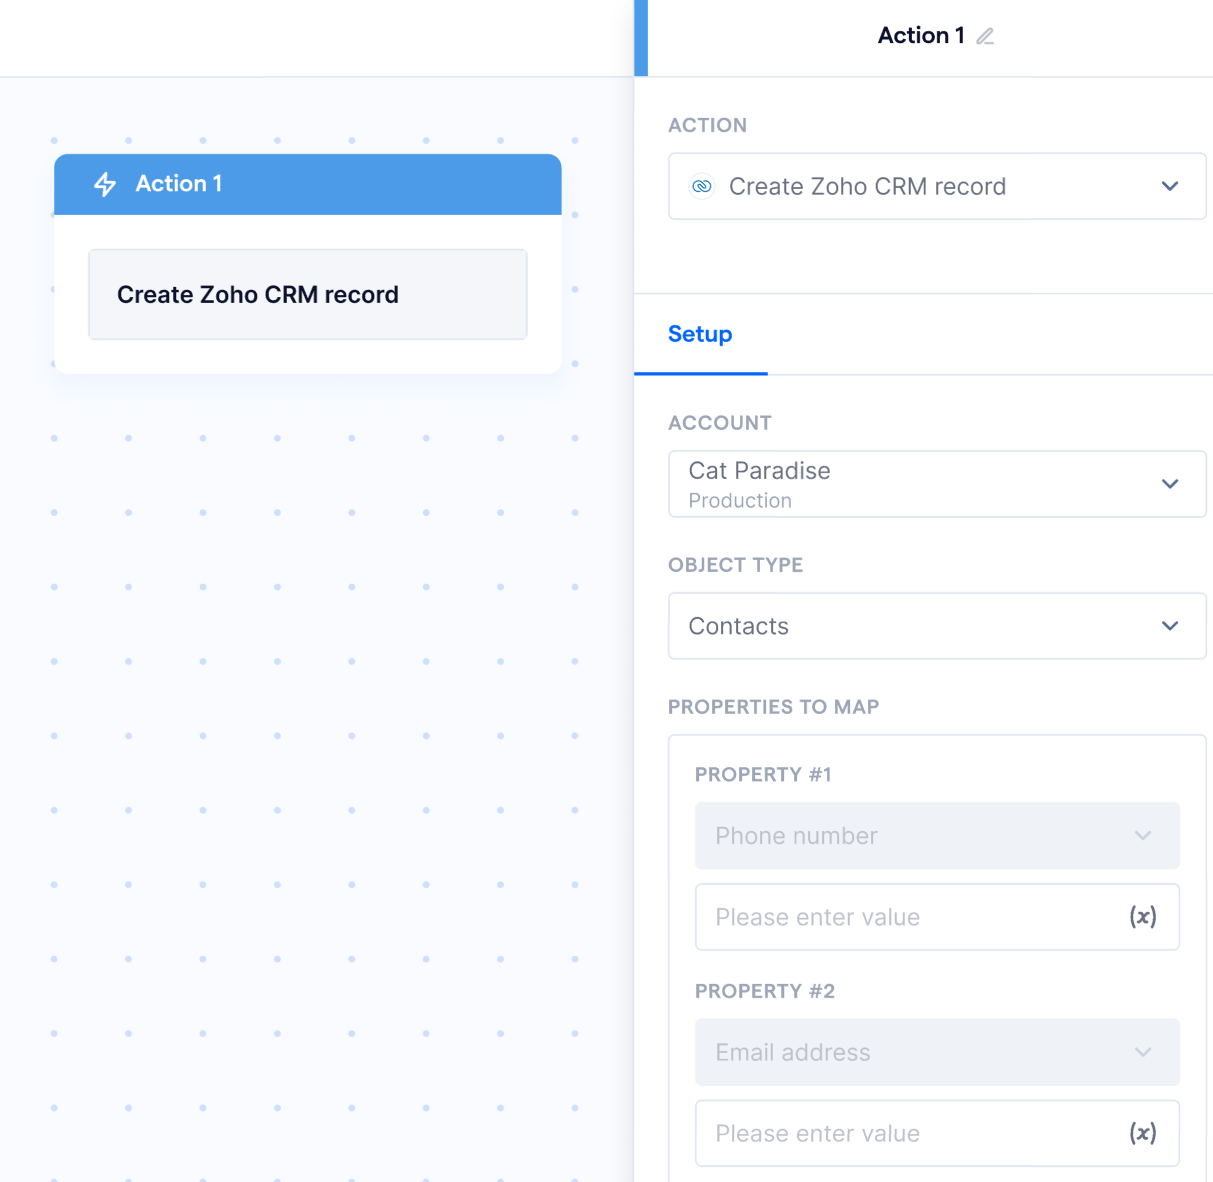
- Select the Zoho CRM account, the object type, and the object you want to use within this node. If you have not connected to a Zoho CRM account, you can refer to the Connect to your Zoho CRM account Help Center article
- The node form contains the following fields for you to configure your action:
- Mandatory fields: These fields are pre-filled with the mandatory Zoho CRM properties required to create a record. For example, when creating a contact, “Last Name” is automatically included since it’s a required field for Zoho CRM. Input the value directly into the text bar or insert a variable by clicking (x)
-
Add optional property mapping: To add more details, click “+ Add set,” select the record property from the dropdown, and define the property value in the “Set to” field
Update Zoho CRM record
The “Update Zoho CRM record” action node modifies an existing Zoho CRM record with new information. It ensures that customer data remains consistent across both platforms.
Common use cases include:
- Update lead status: When a contact engages with a sales message, update their Zoho CRM lead status.
- Sync customer details: If a customer updates their phone number in SleekFlow, reflect the change in Zoho CRM.
- Track order progress: When an order is placed in SleekFlow, update the corresponding deal’s stage in Zoho CRM.
To set up the node:
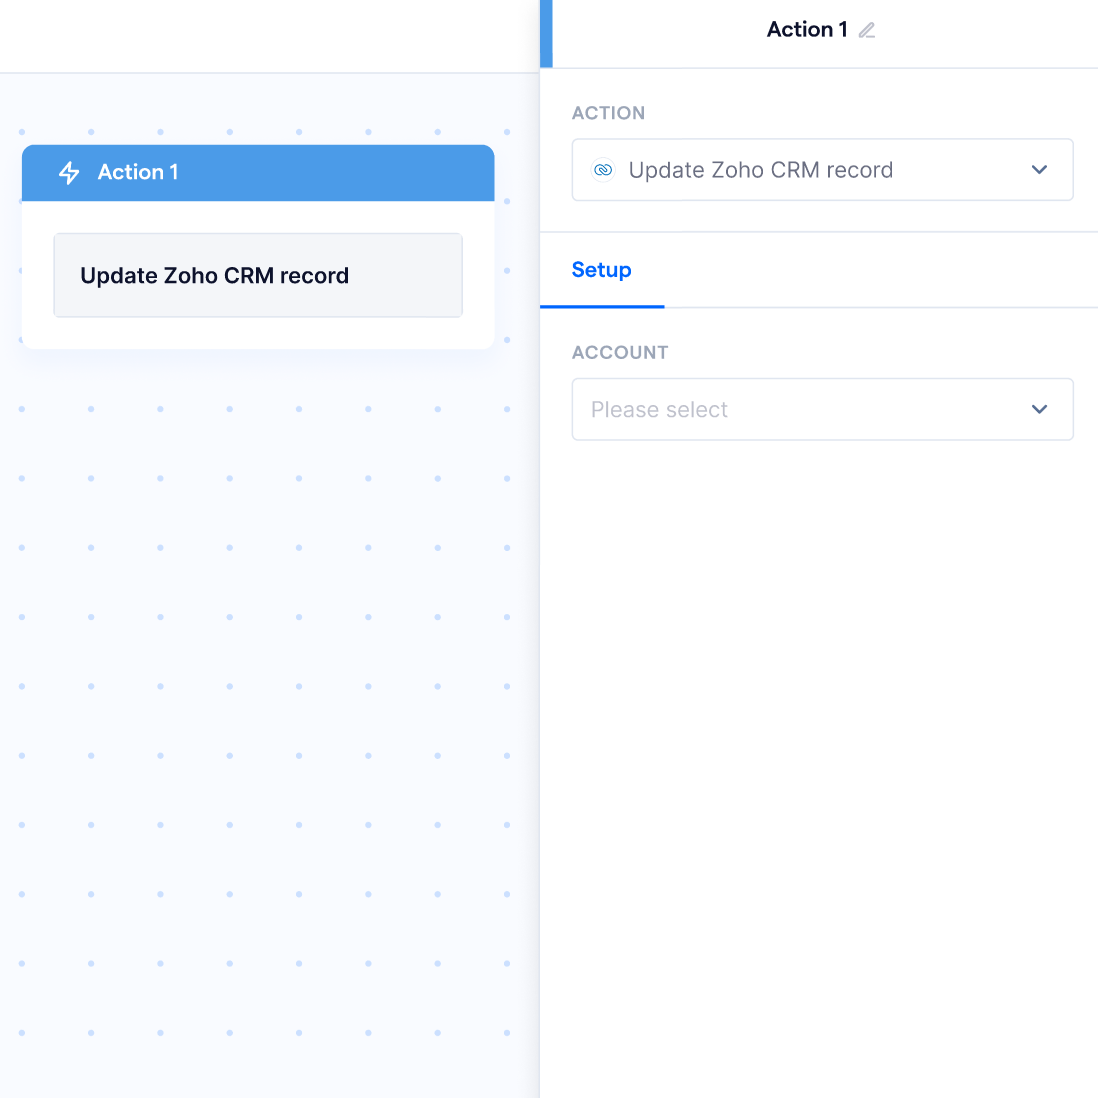
- Click on the “Update Zoho CRM record” action node to open up its form, which will appear on the right side of the screen
- Select the Zoho CRM account, the object type, and the object you want to use within this node, if you have not connected to a Zoho CRM organization, you can refer to the Connect to your Zoho CRM organization Help Center article
- The node form contains the following fields for you to configure your action:
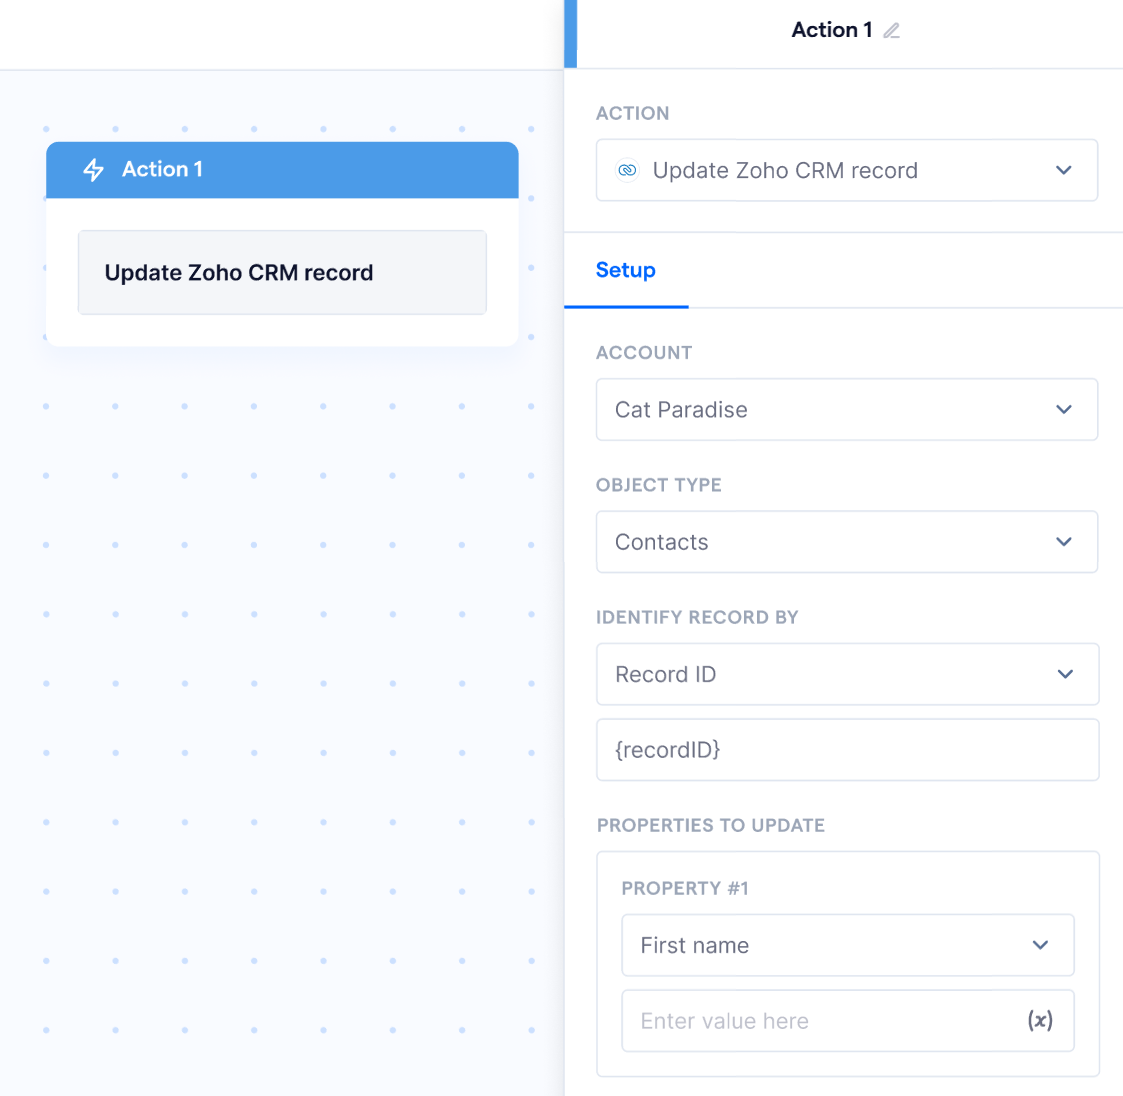
- Record identifier: Provide the Zoho CRM record ID of the record you wish to update, either by manually entering the ID or using a variable
- Record property: Select the property you want to update
-
New value: Enter the new value or content for the selected record property