Staying organized is essential for effective communication and relationship management. Contact labels allow you to categorize and prioritize your contacts quickly, streamlining interactions and enabling personalized outreach.
Combined with our Flow Builder, labels enhance your workflows by triggering specific actions based on contact properties. This saves time and improves collaboration, helping you build meaningful connections with your contacts. Leverage labels to optimize your contact management and boost your productivity. Read this help center article to learn more about leveraging contact label management in Flow Builder.
Accessing your contact labels
To start managing your labels, follow these steps:
- Click the
 icon on the left-hand navigation bar and go to Settings
- Under the “Contacts and data'” section, click Labels
- You will be redirected to the Labels page

Filter and search labels
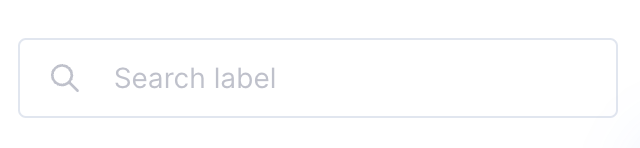
You can search specific label(s) by entering the label name in the search bar above the label listing table.
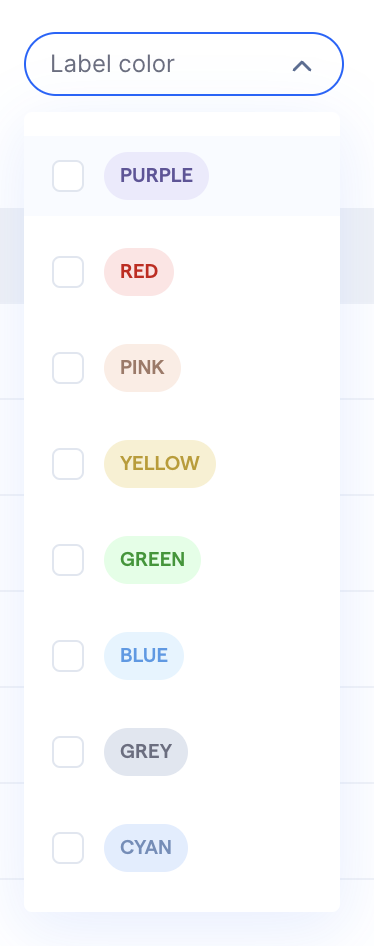
You can also filter labels by color by selecting the color from the drop-down menu.
Create a new label
You can follow the steps below to create new labels:
- Click on the
 button on the Labels page
 - Insert a label name, and define a color for the label
- Click “Create”, and your new label will be created

Edit a label
You can follow the steps below to edit a label:
- Click on the
 button of the label you would like to edit
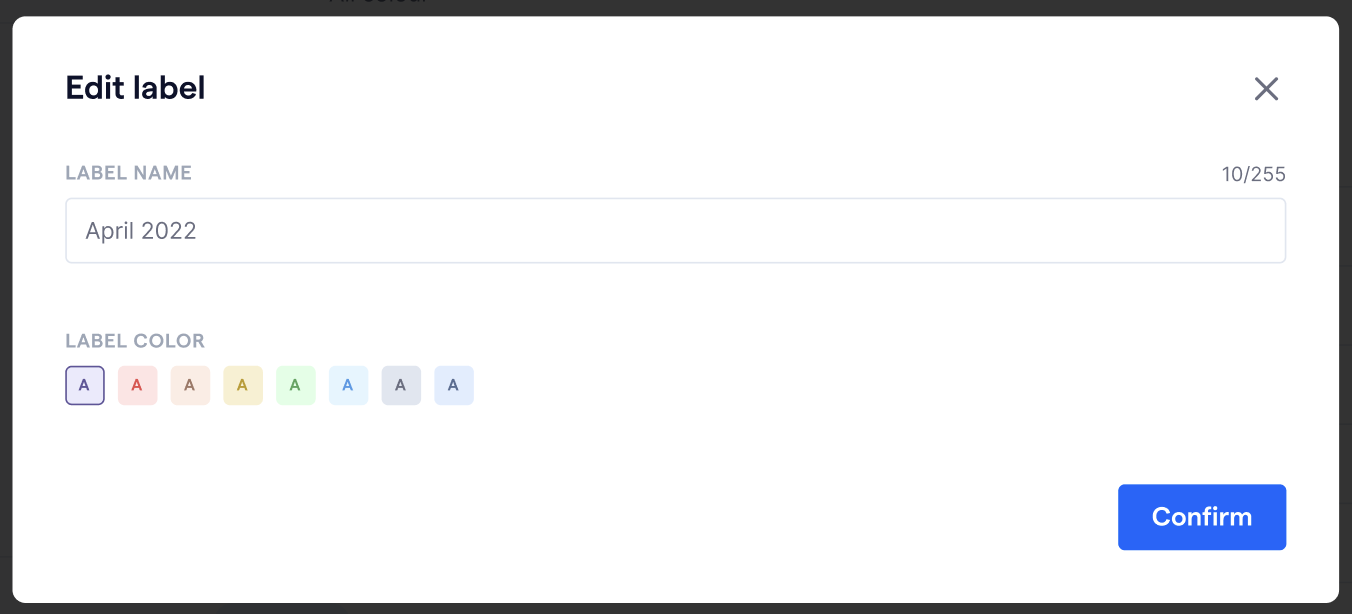
 - An “Edit label” modal will pop up. You can edit the label accordingly
- Once you have updated the label, click “Confirm”, and your label will be updated
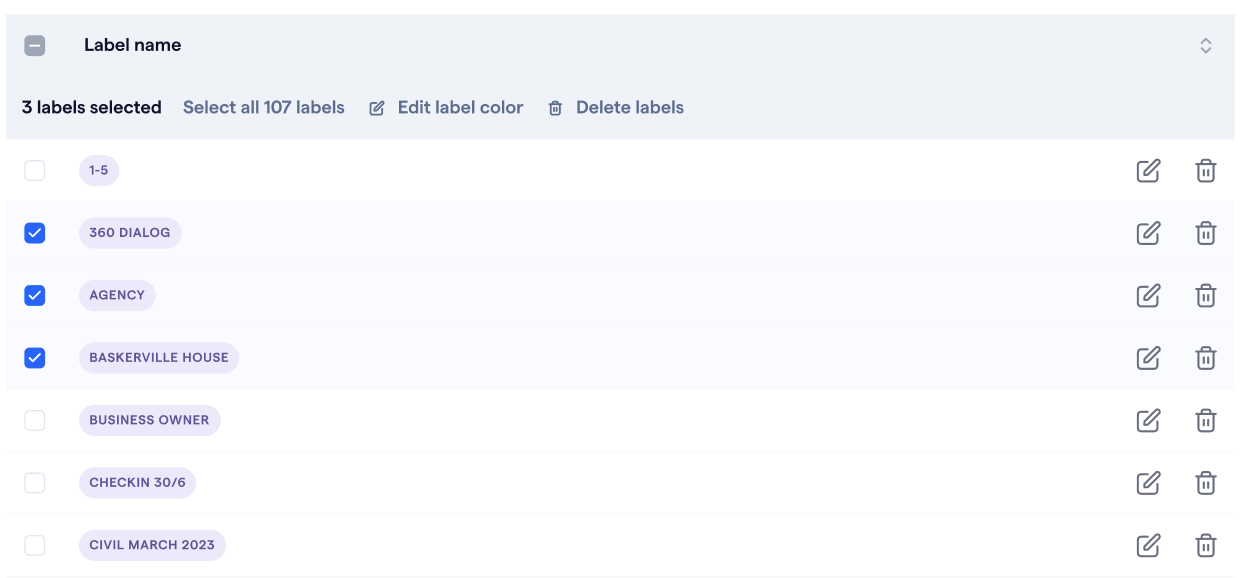
Bulk edit labels
You can bulk edit label color by following the steps below:
- Click the checkboxes next to the labels you would like to bulk edit
- Select

- A “Bulk edit label color” will appear. Select the color you want to change to
- Click “Confirm”, and the update will be saved

Delete a label
You can follow the steps below to delete a label:
- Click on the
 button of the label you would like to delete
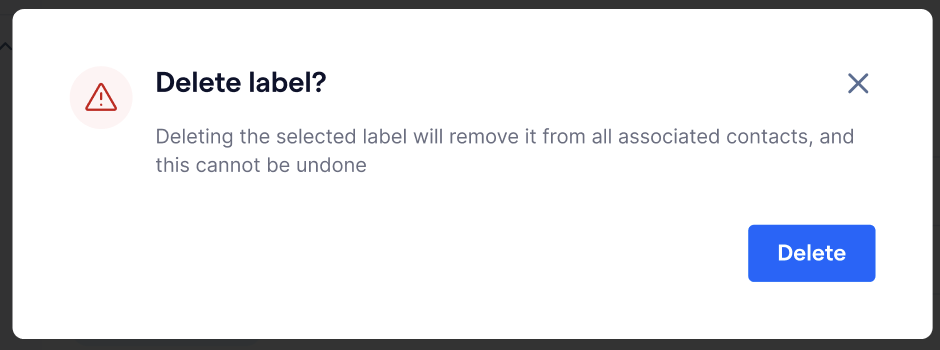
 - A warning modal will appear
- You can confirm the action by clicking “Delete”
- The label will be deleted from your workspace and the action cannot be reverted. The label will be automatically removed from all associated contacts
Bulk delete labels
You can bulk delete labels. To do that, follow the steps below:
- Select the checkboxes next to the labels you would like to bulk delete
- Select

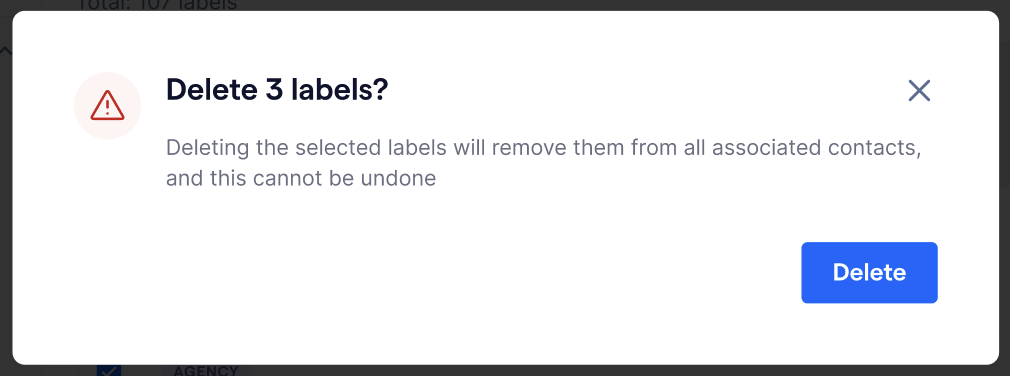
- A warning modal will appear
- You can confirm the action by clicking “Delete”
- The selected labels will be deleted from your workspace and the action cannot be reverted. The labels will be automatically removed from all associated contacts