Once you have created a custom object, you can edit the object display sequences, visibility, name and properties or delete the object from your SleekFlow account in the custom object settings page. To reach the Custom object page, you can refer to the section here.
Editing custom object configurations
Sequences
Adjusting the custom object sequence will impact the display order among all custom objects across the platform. To adjust the custom object sequence, you can
-
Click and hold onto the
 icon next to the custom object name
- Drag to your desired order
- Release the click and the object sequence will be updated
Visibility
You can choose to hide or show the custom object to display on SleekFlow. This will apply across the platform. You can set the custom object visibility in the following steps:
-
Under the status column, you can check on the
 to open the dropdown
- Select the status you want
| Status | Description |
| Show | The object will be displayed across the platform, including all the records created. |
| Hide | The object will be hidden across the platform, including all the records created. Please note that the records are not deleted. Once the object status is updated back to “Show”, all records will be displayed again. |
3. Changes will be saved automatically
Rename
You can rename a custom object in two ways,
-
Within "Custom objects" settings
-
Click on the
 icon
icon
- Select “Rename”
- Update the name in the “Object name” field
- Click “Done”
- The changes will be saved and reflected on the platform
-
Click on the
-
Within the Custom object details page, from the “Custom object settings” page, you can
- Click on the custom object you would like to edit
- On the custom object detail page, you can update the name in the “Object name” field
-
Click the “Save” button at the bottom of the page
- The changes will be saved and reflected on the platform
Delete
You can delete a custom object by following the steps below:
-
Click on the icon
- Select “Delete”
-
A warning message will appear. Click on “Continue”
- The object and its associated records will be deleted from the system

⚠️ Please note that deleting a custom object is a permanent action that cannot be reverted. Please proceed with care to safeguard any critical data you may have.
Editing, deleting and adding custom object properties
Edit
If you want to edit properties within a custom object, all of the actions are done within the property settings
- In the “Custom objects” settings page, click on the custom object you want to edit
- Click on the “Property settings” tab
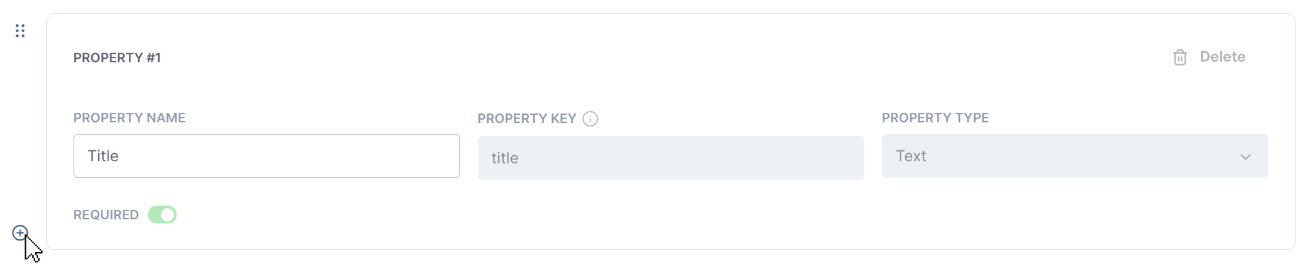
You can edit the name of a property by following the steps below:
- Update the property name in the “Property name” field
-
Click the “Save” button at the bottom of the page
- The changes will be saved and reflected on the platform
💡 Please note that each property name within an object has to be unique.
Delete
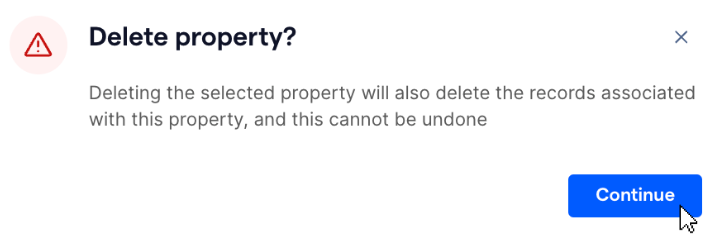
You can delete a property by following the steps below
- Click on the “Delete” button
-
A warning message will appear. Click on “Continue”
- The property and its associated records will be deleted from the system
⚠️ Please note that deleting a property is a permanent action that cannot be reverted. Please proceed with care to safeguard any critical data you may have.
Add
You can add additional custom object properties by following the steps below:
-
A new property will be added either way:
-
Click on the “+ Add new property” button on the top right, and a new property will be added to the bottom of the list; or
-
Click on the “+” button to a property window, and a new property will be added below the original property
-
Click on the “+ Add new property” button on the top right, and a new property will be added to the bottom of the list; or
- Fill in all the fields
- Once you are done, click the “Save” button at the bottom of the page
- The property will be added to the object