All action nodes require setting up in a node form, where you specify the parameters for the selected action. In this article, we will guide you on how to set up every “Conversation control” action node so your flow can execute the appropriate tasks to achieve your desired outcome.
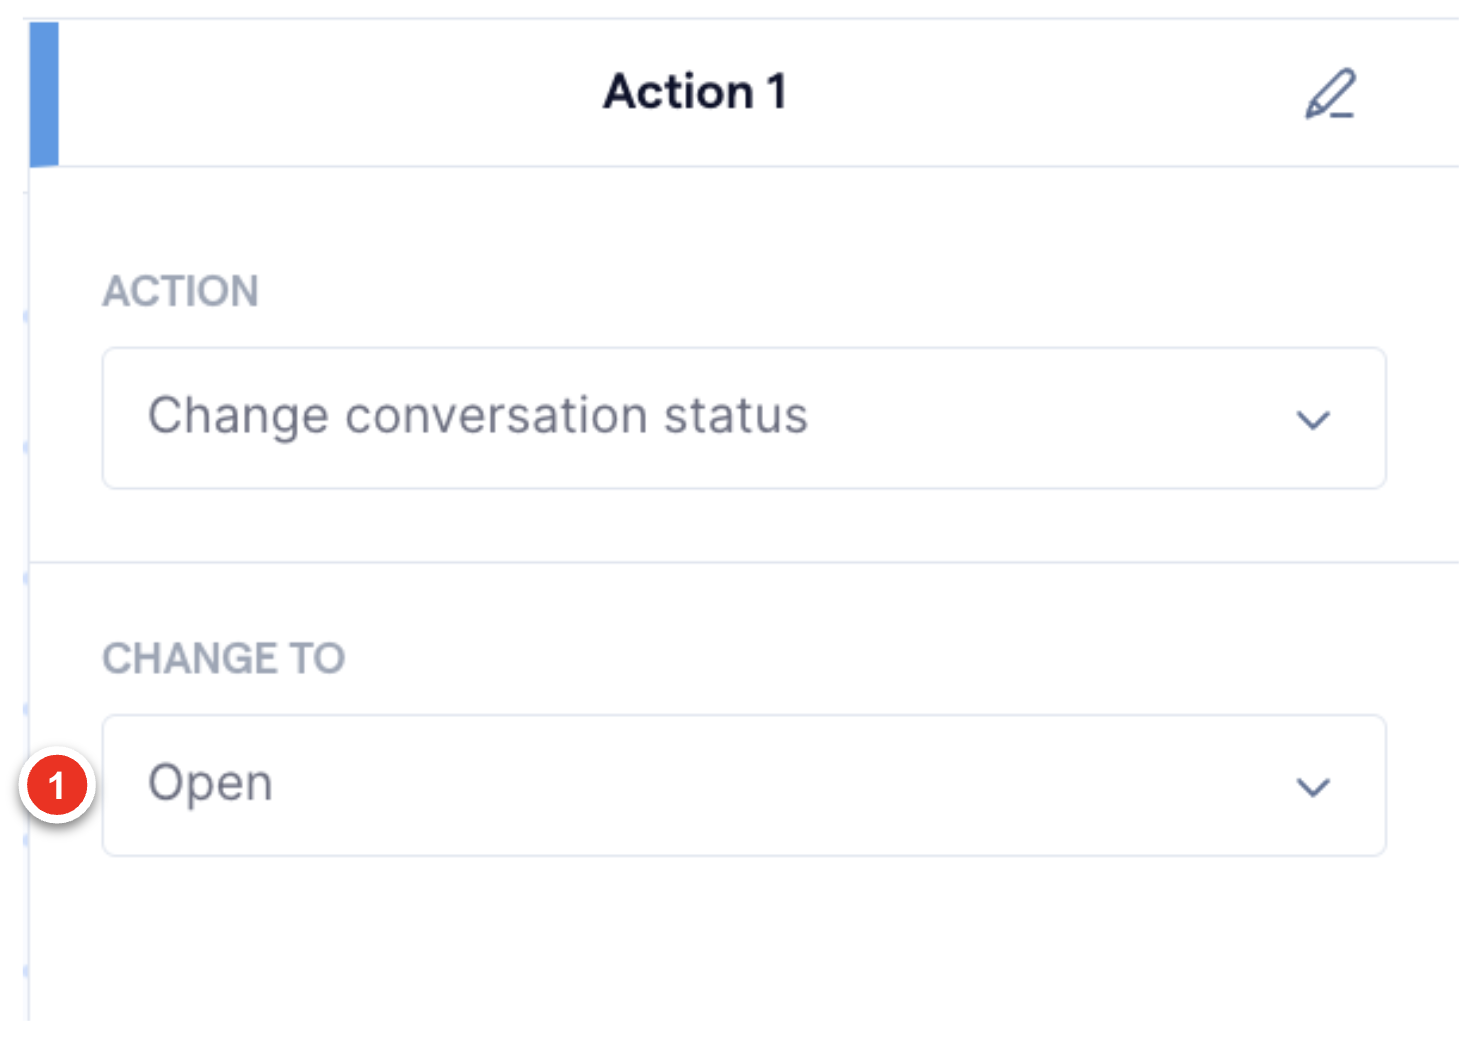
Change conversation status
The "Change conversation status" action changes the status of a conversation to open or closed. Use this action to track conversation progress, automate actions based on status changes, or route conversations to specific queues based on status.
Set up the "Change conversation status" action node form by following the steps below:
-
Click on the "Change conversation status" action node to open up its form, which will appear on the right side of the screen
-
The node form contains the following fields for you to configure your action:
1. Change to - Select the conversation status you would like the current one to
be updated to

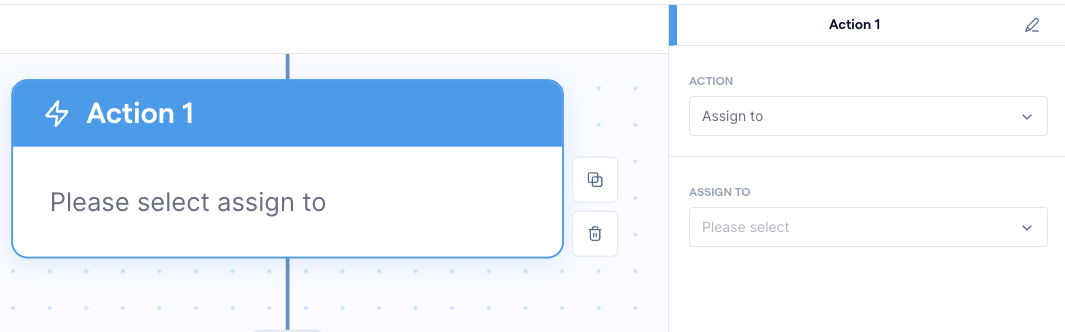
Assign to
The "Assign to" action assigns the enrolled contact's conversation to a specific user or team. Use this action to distribute workload, ensure conversations are handled by the appropriate users, or escalate issues to specialized teams.
Set up the "Assign to" action node form by following the steps below:
-
Click on the "Assign to" action node to open up its form, which will appear on the right side of the screen
-
The node form contains the following fields for you to configure your action:
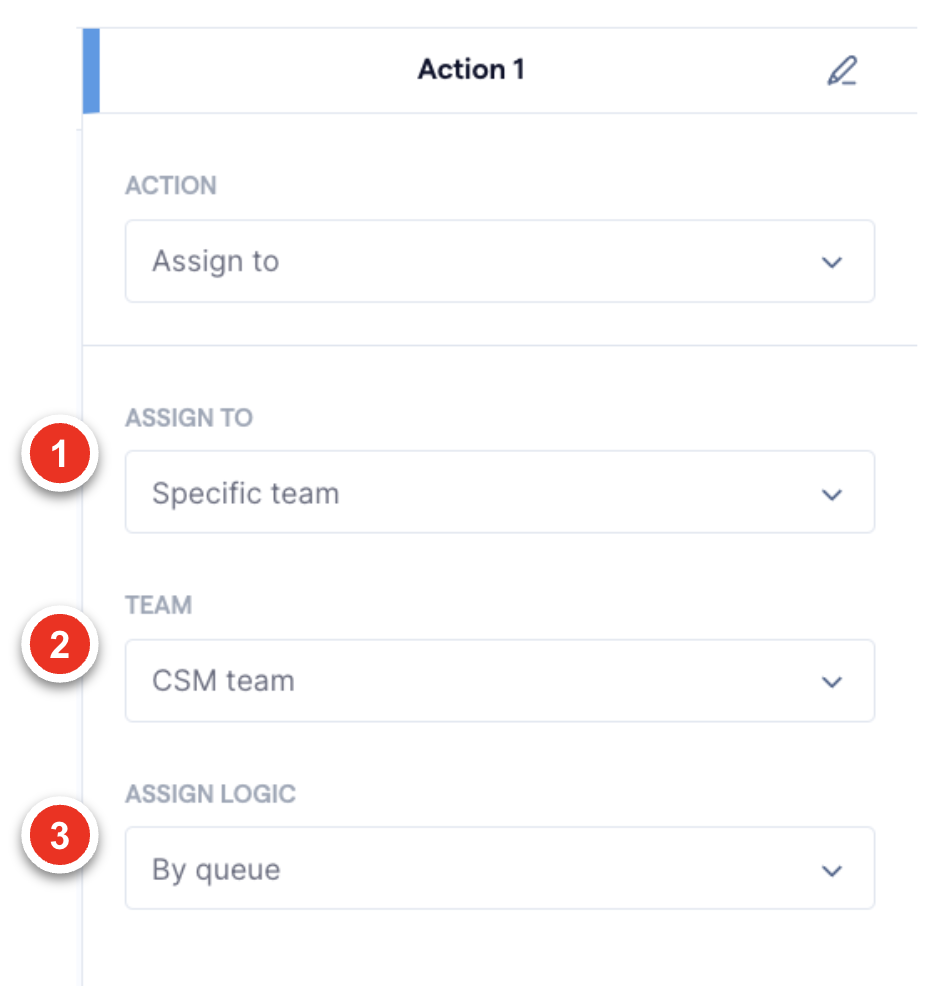
1. Assign to - Select how you would like to assign the conversation. You have
the option to assign to a specific user, a specific team, by queue to the default
order of all available users, or leave it unassigned
2. Assigned user/team - Select the user or team to assign the conversation to
3. Assign logic - If you assigned the conversation to a specific team, select how
you would like to assign the conversation to users on that team, e.g. by queue,
to a specific user, or multiple users with round robin assignment
Add collaborator
The "Add collaborator" action adds another user or team member as a collaborator in the enrolled contact's conversation. Use this action to involve multiple users in complex conversations, facilitate collaboration, or provide additional support to customers.
Set up the "Add collaborator" action node form by following the steps below:
-
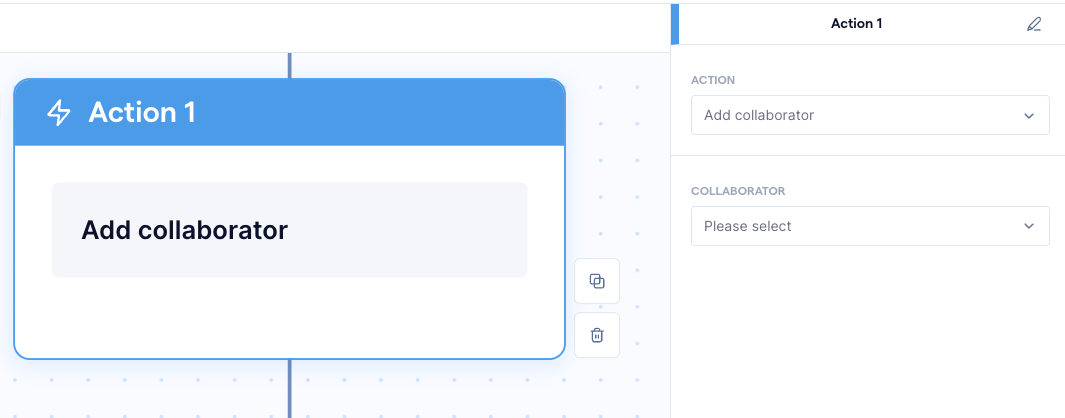
Click on the "Add collaborator" action node to open up its form, which will appear on the right side of the screen
-
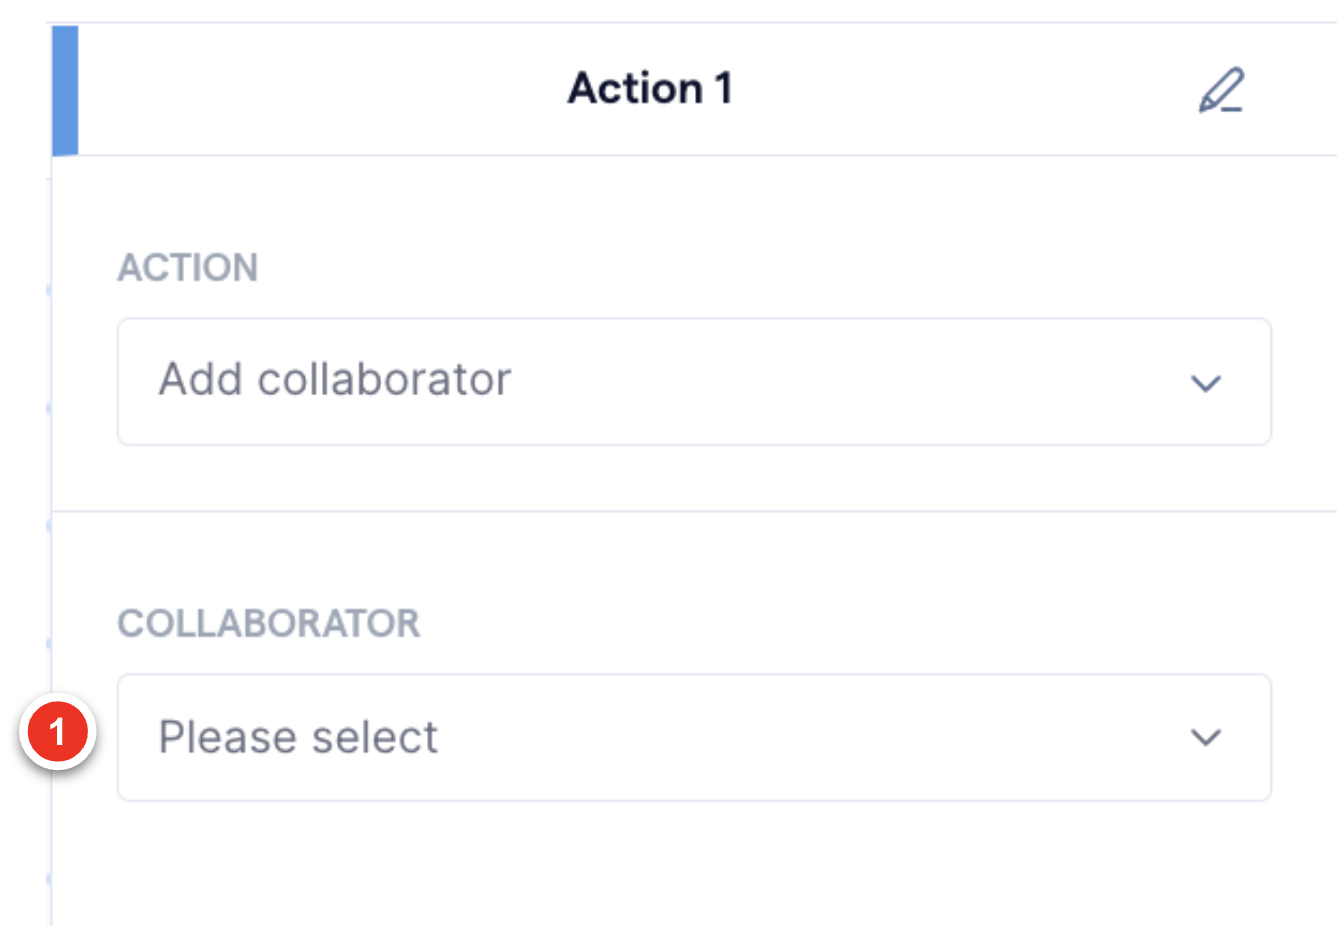
The node form contains the following fields for you to configure your action:
1. Collaborator - Select the user(s) you wish to add to the conversation as
a collaborator
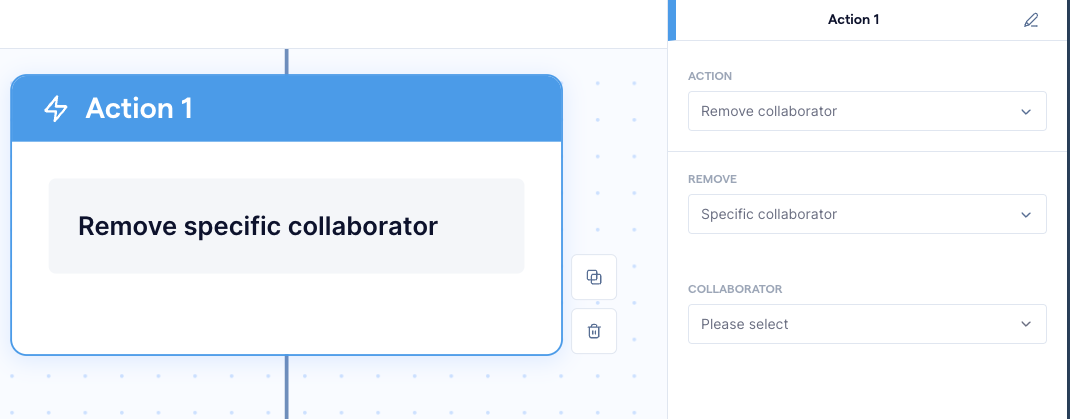
Remove collaborator
The "Remove collaborator" action removes a user or team member as a collaborator on the enrolled contact's conversation. Use this action to adjust collaboration needs, streamline communication, or remove unnecessary collaborators from the conversation.
Set up the "Remove collaborator" action node form by following the steps below:
-
Click on the "Remove collaborator" action node to open up its form, which will appear on the right side of the screen
-
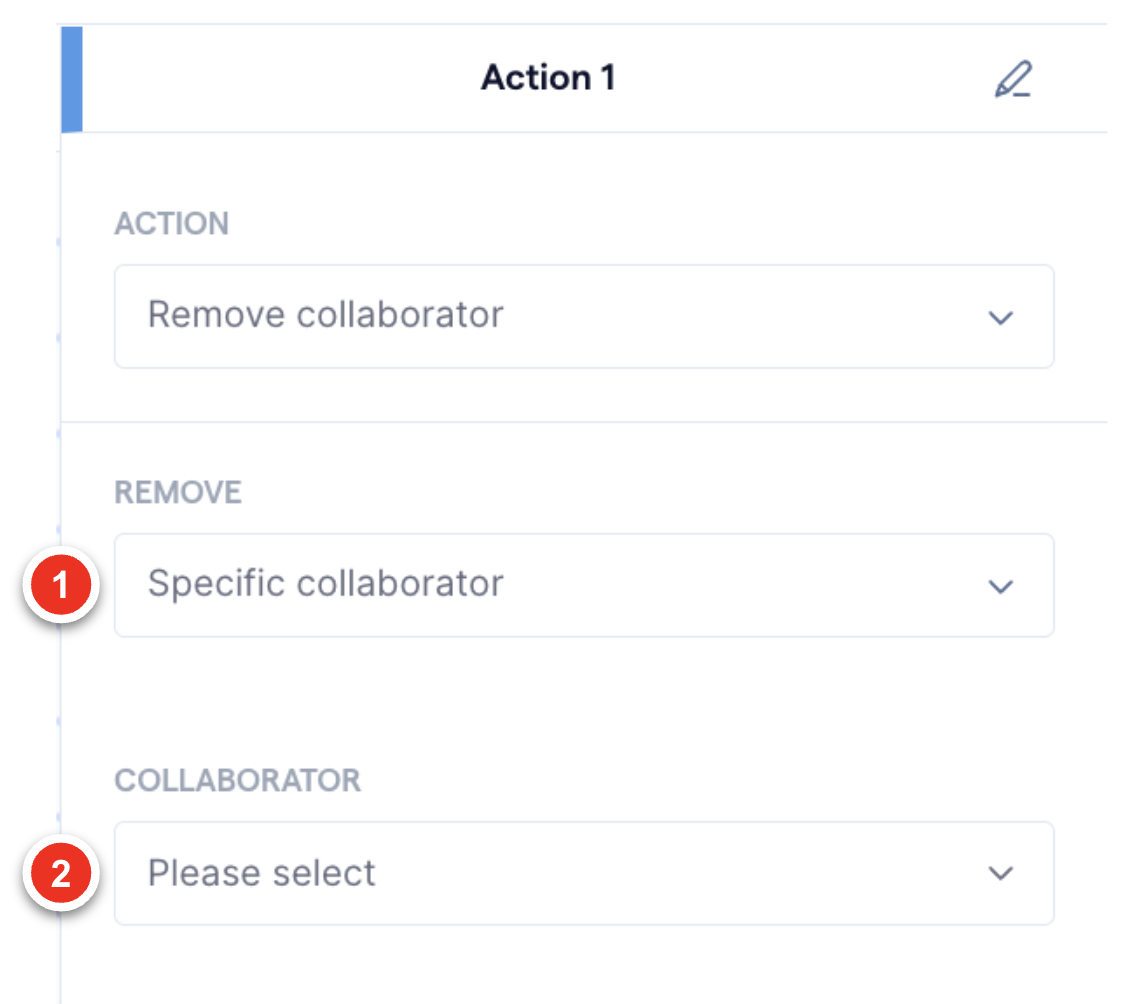
The node form contains the following fields for you to configure your action:
1. Remove - Configure the node to either remove specific collaborators or all
collaborators from the conversation
2. Collaborator - Select the user(s) you wish to remove from the conversation
as a collaborator