You can add contacts into different lists in order to segment them. This allows you to better classify and target your contacts.
Accessing contact lists
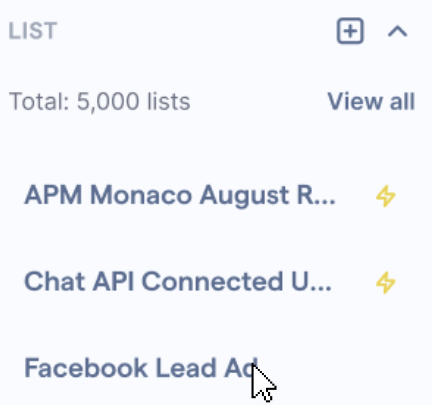
You can view contact lists from the side menu in the "Contacts" main page or by clicking "View all" in the side menu, where you will be directed to the "All lists" page.

To search for a list, input the list name in the search bar in the side menu.

To access a list, click on the list name you wish to access in the side menu under the "List" section.
Navigating contact lists
The navigation within a specific contact list’s page is similar to the "Contacts" main page where you can edit contact property columns, create new contacts, search, and filter contacts. To learn more about the general navigation in the "Contacts" page, refer to Introduction to Contacts.
Managing contact lists
In this section, we will outline the functions related to managing a contact list.
Adding contacts to lists
You can add contacts to a list by following the steps below:
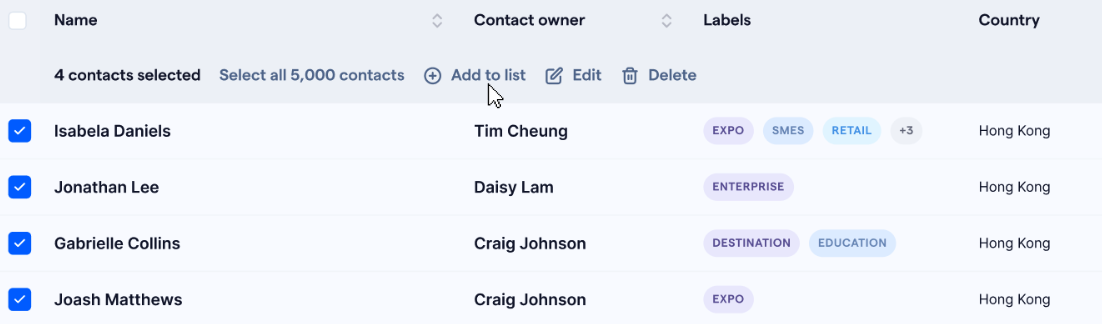
- In the "Contacts" main page, select the contacts you would like to add by clicking the checkbox next to the contact name
- Select "Add to list" in the action bar at the top of the contacts table
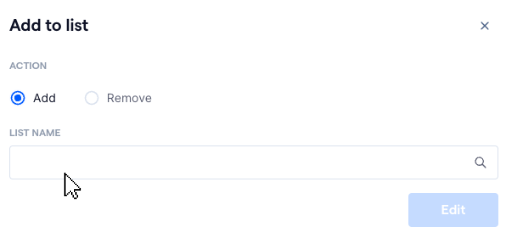
- Select "Add", and input the list name you wish to add the contacts to
- Click "Edit" to add the selected contacts to the list
Removing contacts from lists
You can remove contacts from lists by following the steps below:
- Go to the contact list page you wish to remove contacts from
- Select the contacts you would like to remove by clicking the checkbox next to the contact name
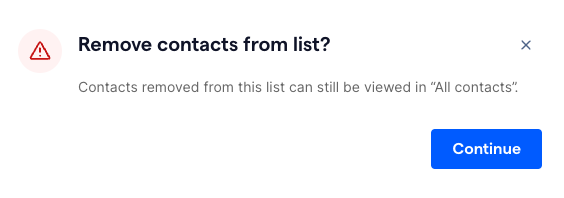
- Select “Remove from list” in the action bar at the top of the contacts table
- Confirm this action by clicking "Continue" in the confirmation modal that appears

Exporting lists
You can export the contact details of contacts in a list by exporting them into a .CSV file, with each contact property acting as a .CSV header. To export a contact list, follow the steps below:
- Go to the list page you wish to export and select “More actions”
- Select "Export list" from the dropdown menu
- The file will be exported automatically, and the export progress will be displayed at the bottom left of the screen


Deleting lists
You can delete a contact list by following the steps below:
- Go to the contact list page you wish to delete
- Select "More actions"
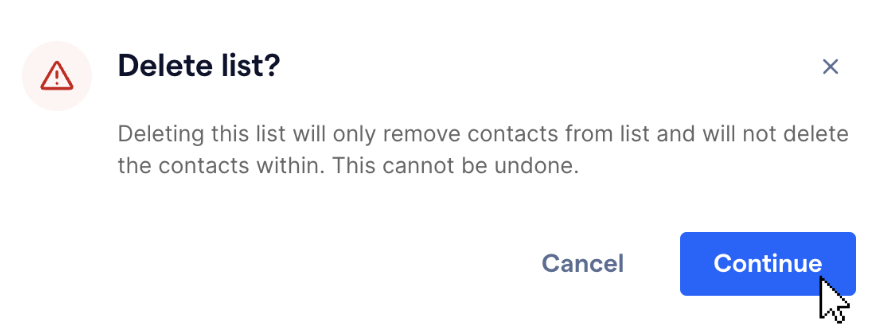
- Select "Delete list" from the dropdown menu
- Confirm this action by clicking "Continue" in the confirmation modal that appears
- The contact list will be permanently deleted, but the contacts in the list will not be deleted from the system